How to Make a Sourdough Starter From Scratch
It’s easier than you think. All you need is patience and time.
Baking bread at home can feel intimidating at first, but with a little practice, you can create bakery-quality sourdough right in your own kitchen. Along the way, you may even discover that the process is relaxing, rewarding, and often more affordable than buying artisan bread from the store.
I’ve made several sourdough starters over the years. Long ago, I used a sourdough starter culture kit that worked well and got me baking quickly, but building a starter completely from scratch produced the best bread I’ve ever made. It also gave me a much deeper appreciation for the process.
If you’re thinking about making your own starter, I strongly recommend starting from scratch. A little patience is all it takes.
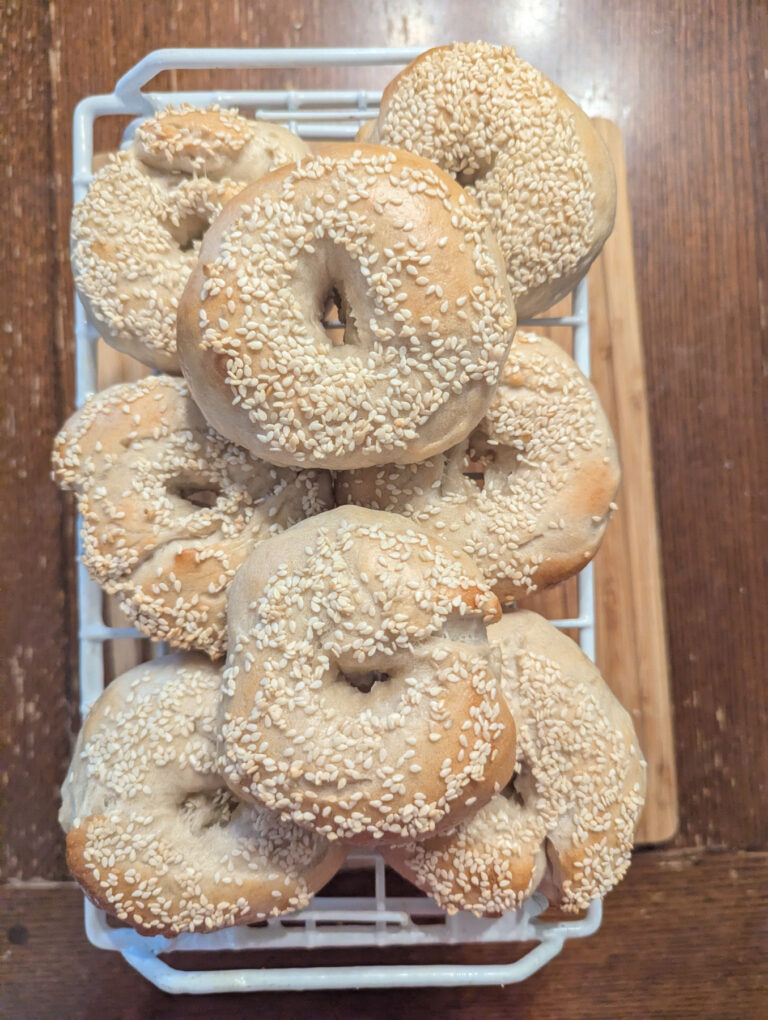
My most recent starter didn’t become fully active for over two weeks. I was getting frustrated, but I kept feeding it morning and night. Eventually, it turned into the best starter I’ve ever had, and I still use it today for bread, pizza dough, pancakes, donuts, bagels, cookies, and more.
I’ve been baking sourdough for well over a decade now, and I’m still learning new things every year. That’s part of what makes it so enjoyable.
What Is a Sourdough Starter?
A sourdough starter is a fermented mixture of flour and water that captures natural wild yeast from the environment. Over time, regular feedings allow the yeast and beneficial bacteria to grow and multiply.
Unlike bread made with commercial yeast, sourdough bread relies entirely on this living culture to rise naturally.
The fermentation process is also what gives sourdough its signature tangy flavor, chewy texture, and beautiful crust.
Tools You’ll Need
Digital Kitchen Scale
A digital scale is one of the best investments you can make for baking sourdough. Measuring by weight is far more accurate than using measuring cups.
Container for Your Starter
Use a non-reactive container such as:
- Glass
- Stainless steel
- Ceramic
Choose a container that holds at least 1 quart to allow room for growth.
If your container doesn’t have a breathable lid, loosely cover it with cheesecloth or a kitchen towel secured with a rubber band.
Helpful Extras
A few tools that make sourdough baking easier:
- Dough whisk
- Bench scraper
- Mixing bowls
- Banneton proofing basket
- Dutch oven
Ingredients
Day 1 Ingredients
- 120 grams whole wheat flour or rye flour
- 120 grams room temperature water
Whole wheat and rye flour contain more natural nutrients and yeast activity, which helps kickstart fermentation.
Feedings After Day 1
- 120 (1 cup) grams all-purpose flour
- 120 (1/2 cup) grams water
Once your starter is established, all-purpose flour works perfectly for regular feedings.
How to Make a Sourdough Starter
Day 1
Combine:
- 120 grams whole wheat or rye flour
- 120 grams water
Mix thoroughly until no dry flour remains.
Cover loosely and leave at room temperature for 24 hours. Ideally, your kitchen should be at least 70°F (21°C).
Days 2 and 3
Discard roughly half of the starter.
To the remaining starter, add:
- 120 grams all-purpose flour
- 120 grams water
Mix well, cover, and let rest at room temperature for another 24 hours.
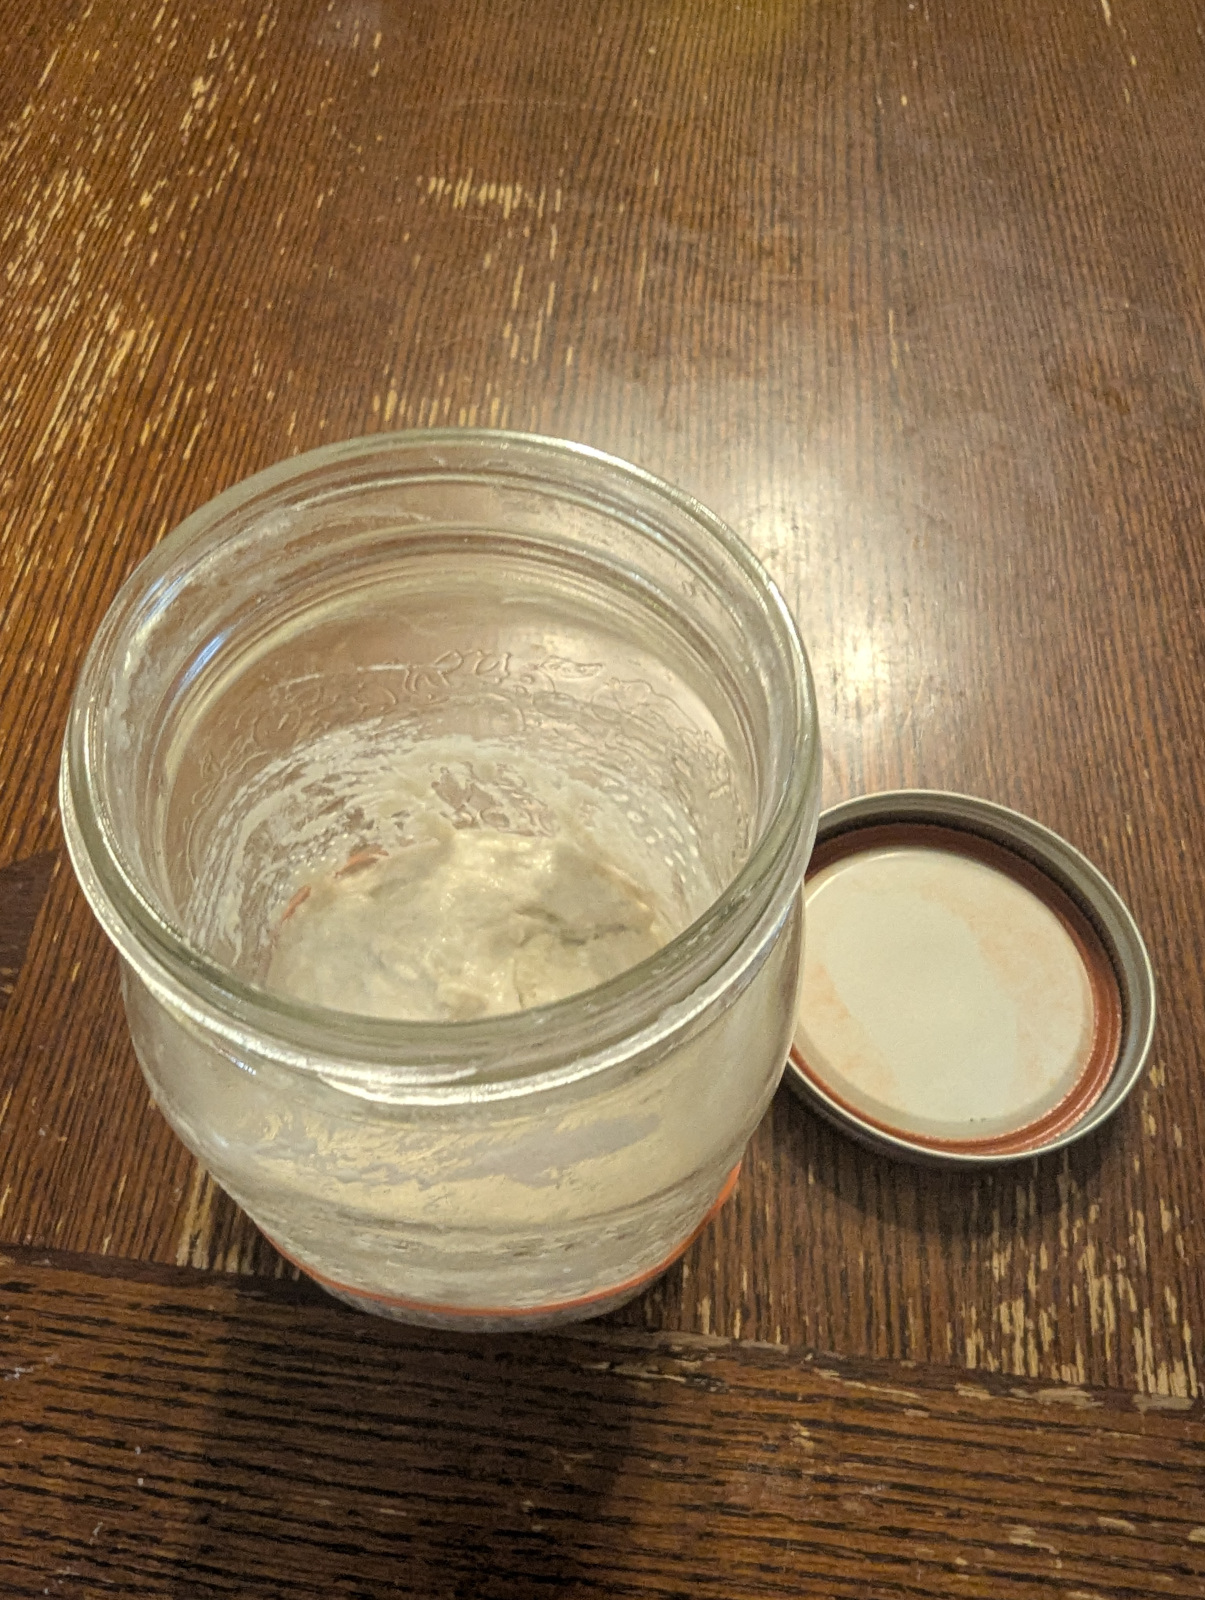
At this stage, you may notice a few bubbles or a mild sour smell. That’s a good sign.
Day 4
By now, you should begin seeing more activity.
Start feeding your starter every 12 hours instead of every 24 hours.
Each feeding:
- Keep 120 grams of starter
- Discard the rest
- Add:
- 120 grams flour
- 120 grams water
Mix thoroughly and let rest for 12 hours before repeating.
Day 5 and Beyond
Continue feeding every 12 hours using the same 1:1:1 ratio:
- 120 grams starter
- 120 grams flour
- 120 grams water
Some starters become active by Day 5, while others can take much longer.
My last starter doubled around Day 5, then suddenly went dormant for nearly two weeks. I kept feeding it consistently, mostly out of curiosity, and eventually it came back stronger than ever.
Three weeks later, it became one of the best starters I’ve ever used.
Patience really is the secret ingredient.
How to Know When Your Starter Is Ready
Your starter is ready for baking when:
- It doubles in volume after feeding
- The surface is full of bubbles
- It smells pleasantly tangy or slightly fruity
- It passes the float test
The Float Test
Drop a small spoonful of starter into a glass of water.
If it floats, it’s usually ready to bake with.
If it sinks, continue feeding for a few more days.
Don’t Give Up Too Early
Many online guides claim your starter will be ready in 5 to 7 days. Sometimes that happens, but not always.
Temperature, flour type, water quality, and even the natural yeast in your home can affect fermentation speed.
Some starters take two or even three weeks to fully mature.
Stick with it.
A slow starter can still become an incredible one.
How to Store Your Starter
If You Bake Frequently
Keep your starter on the countertop and feed it daily.
If You Bake Occasionally
Store it in the refrigerator and feed it about once a week.
A healthy refrigerated starter can last indefinitely with proper care.
Preparing Your Starter for Baking
Never bake directly from a cold refrigerator starter.
The night before baking:
- Remove the starter from the fridge
- Feed it fresh flour and water
- Leave it covered at room temperature overnight
Wait until it becomes bubbly and doubles in size before mixing your dough.
Depending on room temperature and starter strength, this may take anywhere from 2 to 12 hours.
If your kitchen is cold, you can place the starter in the oven with only the oven light turned on.
Just don’t forget it’s in there before preheating your oven.
What to Make With Sourdough Starter
Fresh sourdough bread is the obvious choice, but that’s only the beginning.
You can also make:
- Pizza dough
- Pancakes
- Bagels
- Pretzels
- Donuts
- Focaccia
- Crackers
- Cookies
Save your sourdough discard while building your starter.
Some of my favorite recipes use discard. Honestly, the best pancakes and pizza dough I’ve ever made came from sourdough discard.
My wife keeps joking that I should open a restaurant.
At this point, I can barely keep up feeding friends and family 😁
What Is Sourdough Discard?
“Discard” is simply the portion of starter removed before feeding.
Even though it won’t properly leaven bread on its own, it still adds incredible flavor to baked goods and helps reduce waste.
Never underestimate how useful discard can be.
How to Tell If Your Starter Has Gone Bad
If you see a gray or clear liquid on top, don’t panic.
That liquid is called hooch, a naturally occurring alcohol that forms when the starter is hungry.
Simply pour it off or stir it back in before feeding.
However, throw your starter away immediately if you notice:
- Mold
- Pink streaks
- Orange discoloration
- A rotten or foul smell
A healthy starter should smell pleasantly sour, tangy, or slightly fruity.
Final Thoughts
Making sourdough starter from scratch takes patience, consistency, and a willingness to trust the process.
Some starters become active quickly. Others take weeks.
But once you get there, you’ll have something alive that can produce incredible bread for years to come.
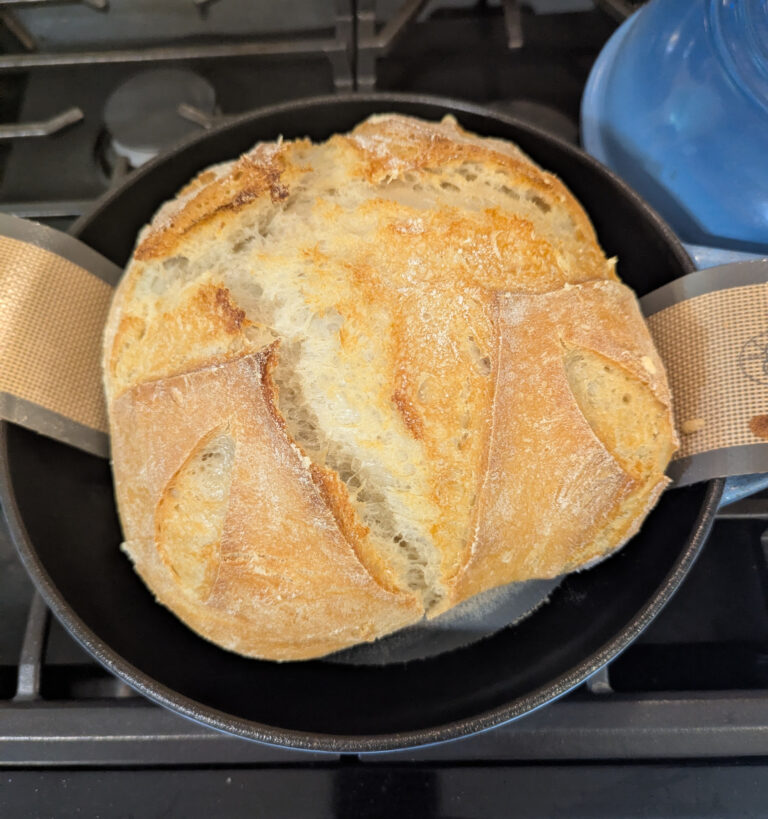
And honestly, there’s something deeply satisfying about pulling a beautiful loaf of bread out of the oven knowing you created the starter yourself from nothing more than flour, water, and time.