Beginner’s Sourdough Bread
Learn how to make the easiest homemade sourdough bread recipe, perfect for beginners. All you need are a few simple ingredients, some time, and a little patience. Once you taste fresh sourdough bread you may never want to go back to store-bought bread again.
It took a while to produce a good sourdough loaf but I knew I had finally nailed it when my wife stopped buying sandwich bread and started getting excited every time I baked bread.
I still experiment with almost every batch I make. Even after more than a decade of baking sourdough, I’m always trying new techniques and recipes. Lately, I’ve been brushing my loaves with olive oil or melted butter right out of the oven, which gives the crust incredible flavor and texture.
Over the years, I’ve really honed my sourdough baking skills, and now I have hundreds of recipes to show just how simple and rewarding homemade sourdough can be.
What Is Sourdough Bread?
Sourdough bread is a naturally fermented bread made using wild yeast and beneficial bacteria captured in a sourdough starter, rather than commercial yeast. This slow fermentation process creates the classic tangy flavor, chewy texture, and crisp crust sourdough is known for.
Sourdough Health Benefits
As the grains ferment, the gluten and phytic acid begin to break down, making the bread easier to digest and allowing nutrients to become more bioavailable.
People who are sensitive to gluten (but do not have celiac disease) may sometimes tolerate long-fermented sourdough better because of this fermentation process.
Phytic acid, which naturally occurs in wheat, is considered an anti-nutrient because it can block nutrient absorption. During fermentation, much of the phytic acid is reduced, helping your body absorb more of the nutrients found in the grain.
Common Sourdough Terms
Sourdough Starter
A mixture of flour, water, wild yeast, bacteria, and organic acids used to ferment and leaven bread. You can make your own starter from scratch, purchase one, or get one from a friend.
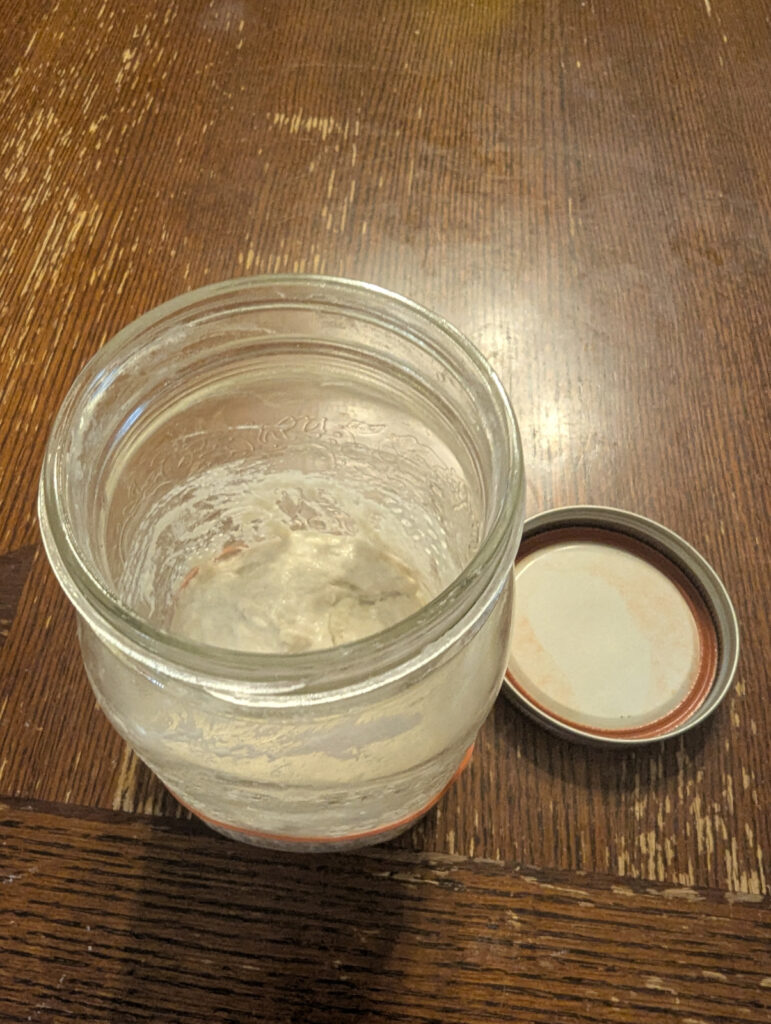
Sourdough Discard
The portion of starter removed before feeding. While some people throw it away, it can be used in many delicious discard recipes.
Technically, you never have to discard it. Once your starter is mature enough, you can simply keep feeding and using it regularly. Too much starter can become difficult to maintain, which is why most bakers discard a portion.
Fed or Active Starter
This is a starter that has been fed 4–12 hours before baking. It should look bubbly, active, and roughly doubled in size.
A common way to test readiness is the float test: place a small spoonful of starter in water. If it floats, it’s usually ready to bake with.
Autolyse
The process of mixing flour and water together and allowing it to rest before kneading or folding. This helps hydrate the flour and improve gluten development.
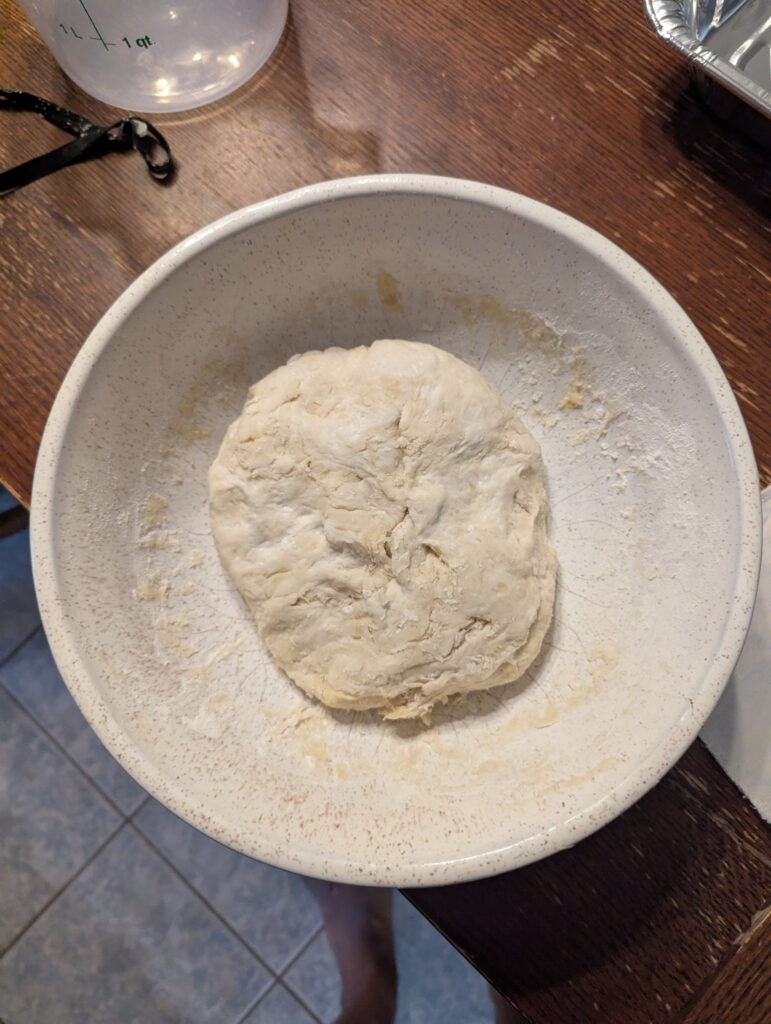
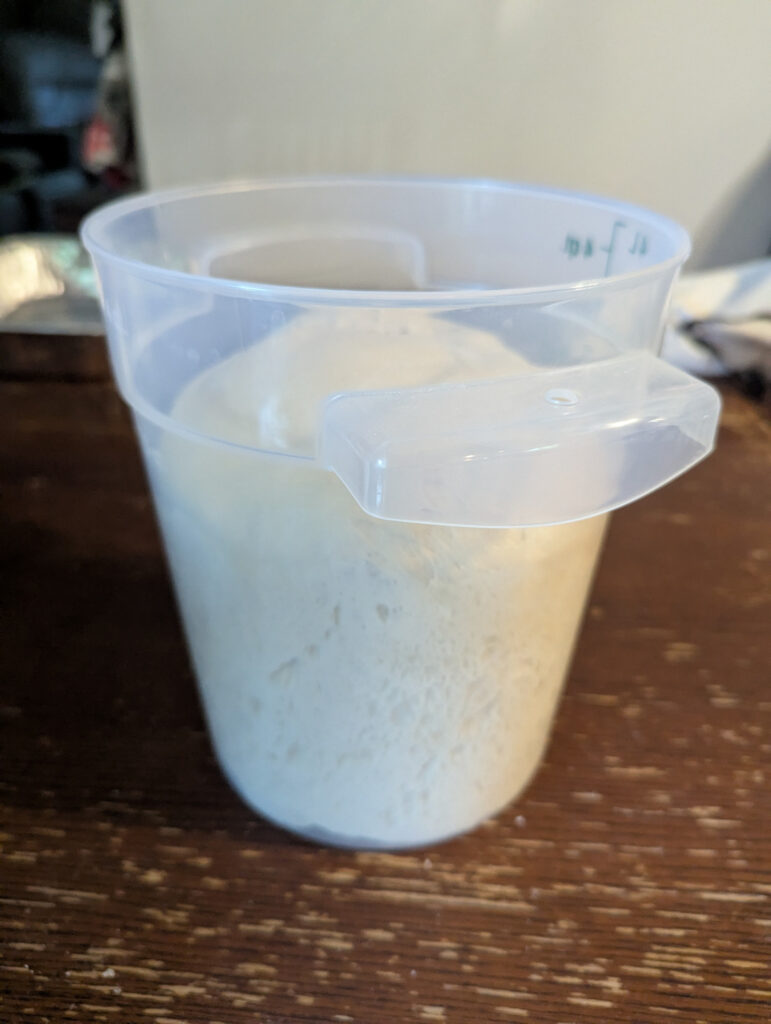
Bulk Fermentation (Bulk Rise)
The first rise after mixing the dough. This is one of the most important stages in sourdough baking.
Under-fermented dough may not rise properly in the oven, while over-fermented dough can become weak and sticky. In most cases, the dough should roughly double in size.
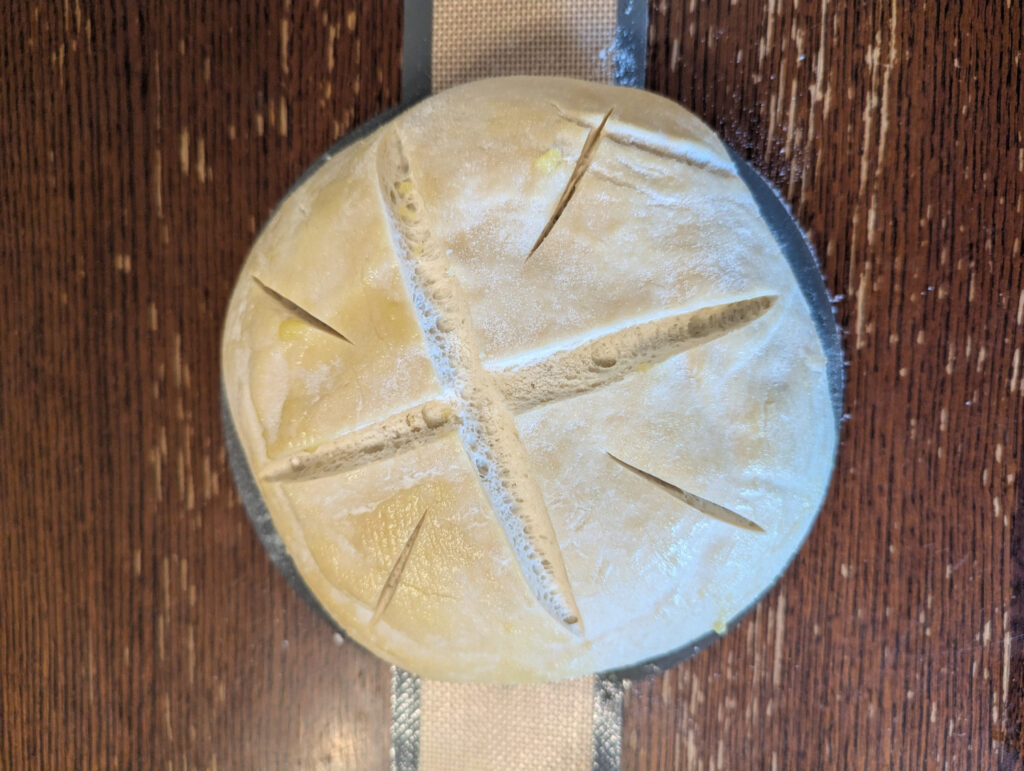
Score
Cuts made on the top of the dough before baking using a razor blade, lame, or sharp knife.
There are two types of scoring:
- Expansion scores help the bread rise properly in the oven.
- Decorative scores create beautiful patterns and designs.
Windowpane Test
A method used to check gluten development. Stretch a small piece of dough between your fingers. If it stretches thin enough to see light through it without tearing, the gluten structure is strong enough.
Proofing
The final rise before baking.
Ingredients
- 500g all-purpose flour
- 350g water
- 100g active sourdough starter
- 10g salt
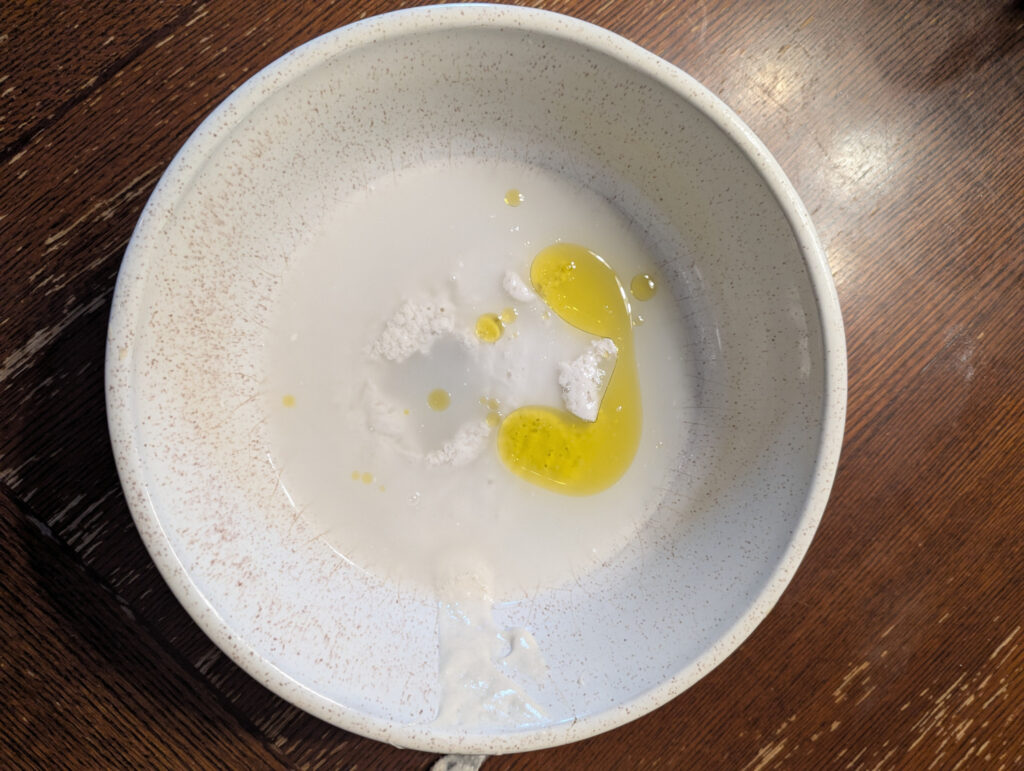
Since this is a beginner-friendly loaf, I’m using all-purpose flour because most people already have it in their pantry. Bread flour also works great.
Tools You May Need
- Large mixing bowl
- Kitchen scale or measuring cups
- Banneton basket (optional)
- Dutch oven
- Parchment paper
- Plastic wrap or lid
- Bread lame or razor blade
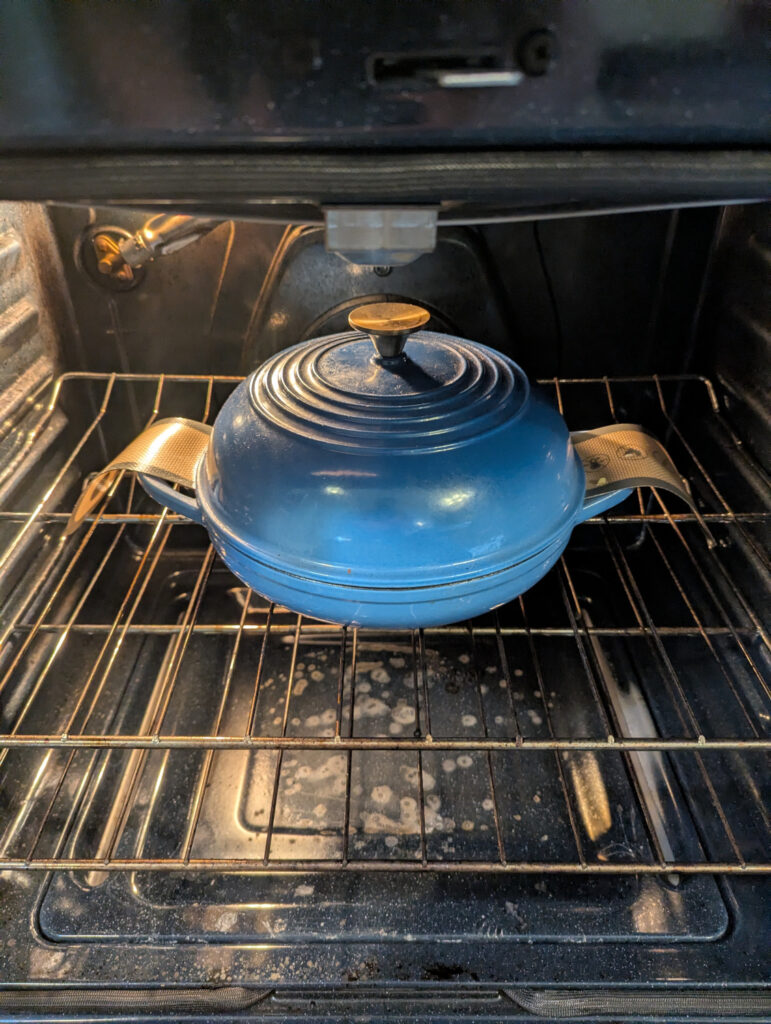
A Dutch oven helps create steam, giving the bread its signature crispy crust. If you don’t have one, you can still bake on a baking sheet by adding steam to the oven with a pan of water.
How To Make Beginner’s Sourdough Bread
Step 1: Feed Your Starter
Feed your sourdough starter 4–12 hours before baking. It should be active, bubbly, and doubled in size.
Step 2: Mix The Dough
In a large bowl, combine:
- Warm water
- Active sourdough starter
- Salt
- Flour
Mix with a wooden spoon or your hands until combined.
Cover and let rest for 30 minutes.
This resting period is called the autolyse.
Step 3: Stretch and Fold
Instead of kneading, we’ll use the stretch-and-fold method to strengthen the dough.
Grab one edge of the dough and stretch it upward.
Fold it back into the center.
Rotate the bowl a quarter turn.
Repeat until you’ve completed four folds.
That completes one round.
Repeat this process:
- 3 total rounds
- 30 minutes apart
If the dough feels sticky, lightly wet your hands with warm water.
Step 4: Bulk Fermentation
Cover the dough and let it rise in a warm place until doubled in size.
This usually takes:
- 6–12 hours
- Sometimes longer depending on room temperature and starter strength
Step 5: Shape The Dough
Place the dough onto a lightly floured surface.
Gently fold the dough onto itself and shape it into a round ball.
Optional: Let the dough rest uncovered for 15–20 minutes to help form a light skin on the surface.
Then shape again by folding the sides inward to create surface tension. This helps improve oven spring during baking.
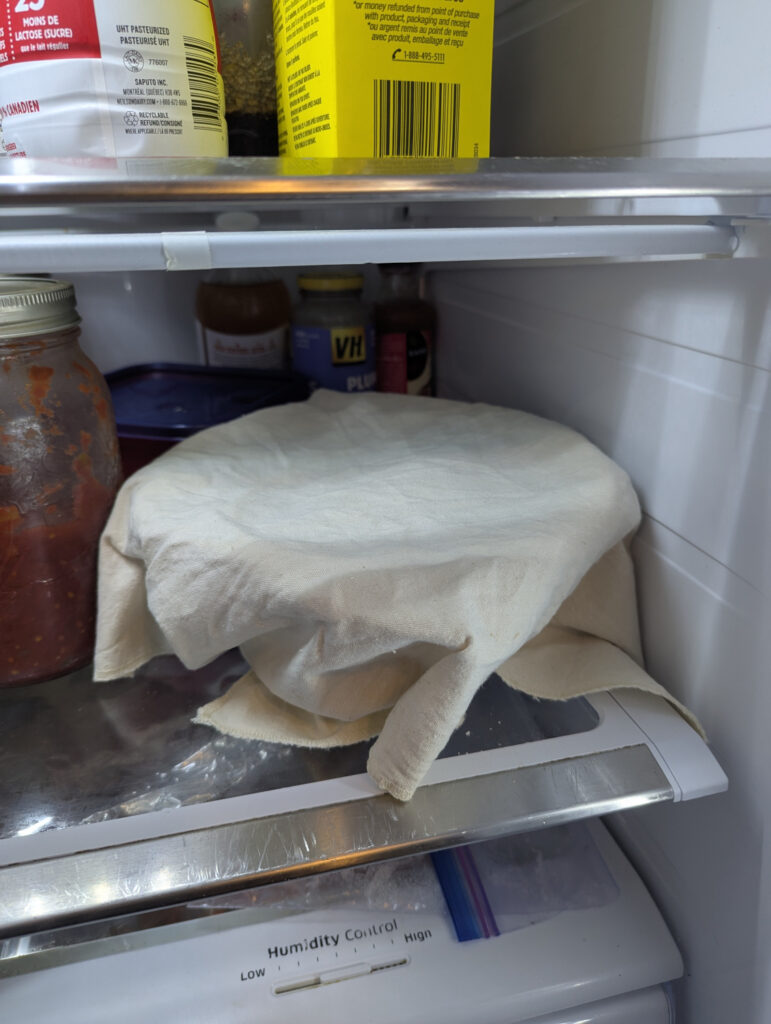
Transfer the dough seam-side up into a floured banneton or towel-lined bowl.
Cover and refrigerate for 12–24 hours.
You can also proof at room temperature for 3–4 hours, but I find the cold overnight proof creates better flavor and makes scoring easier.
Bake The Bread
Preheat your Dutch oven to:
500’F for 1 hour.
Remove the dough from the fridge and place it onto parchment paper.
Dust lightly with flour if desired and score the loaf with a lame or razor blade.
Carefully transfer the dough into the hot Dutch oven.
Bake:
30 minutes covered at50’F
Then remove the lid and reduce temperature to
400’F
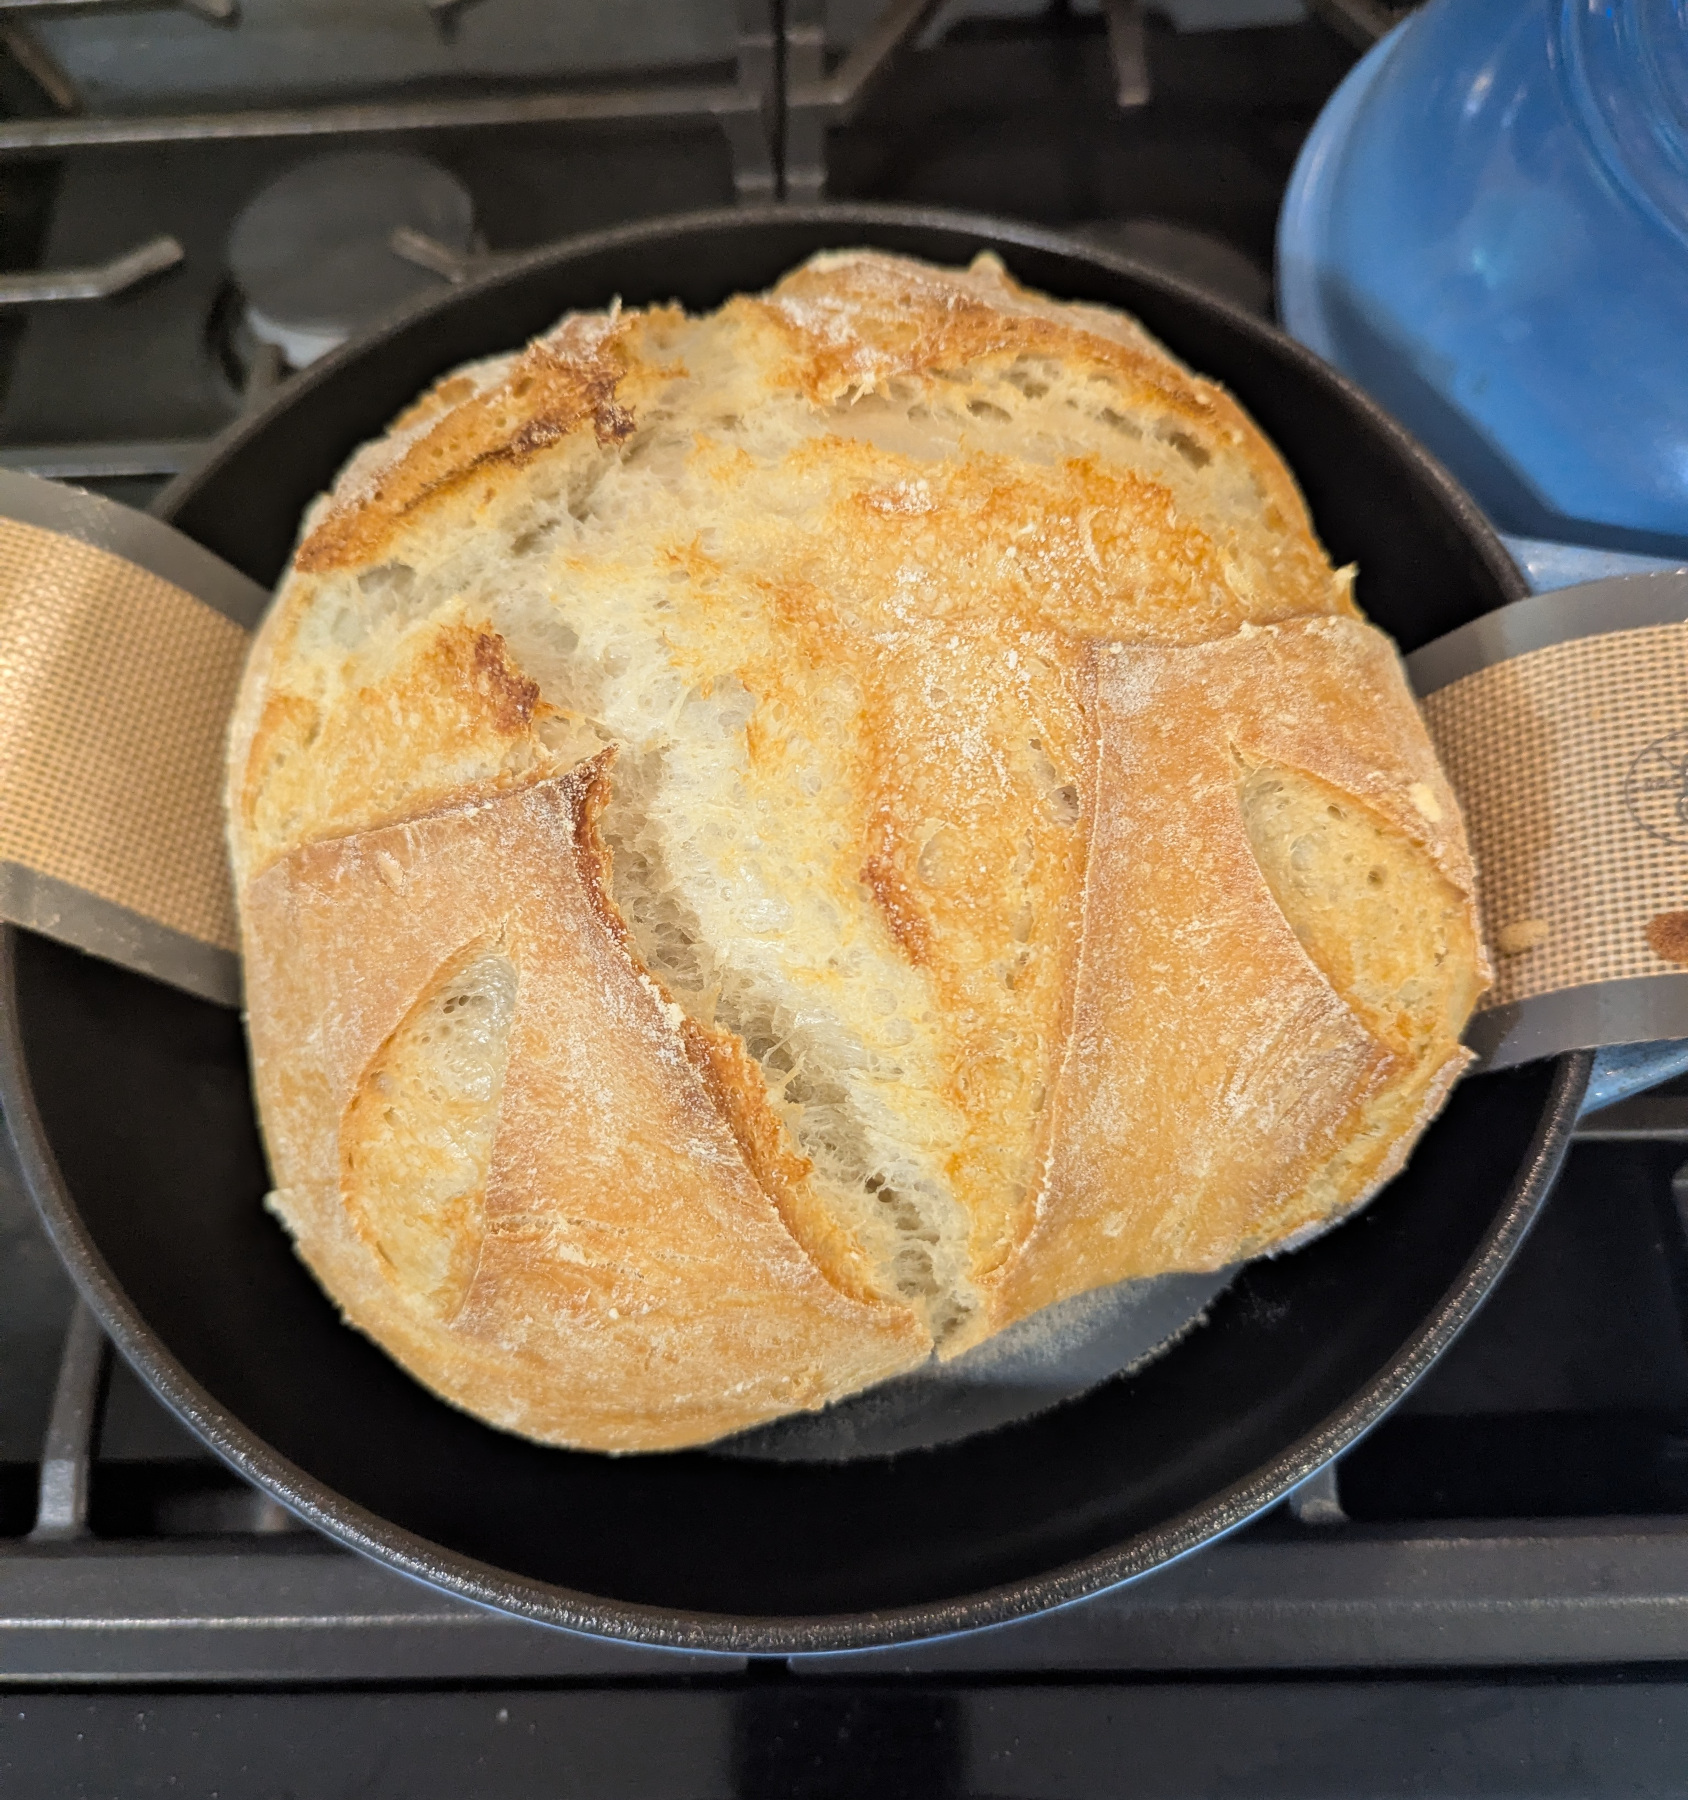
Bake an additional 10–15 minutes until deep golden brown.
For extra flavor, brush the hot crust with melted butter or olive oil right after baking.
Best Tips For Scoring
- Cold dough is much easier to score cleanly.
- Dust the top with flour to make designs stand out.
- Use a razor blade or bread lame for the cleanest cuts.
- Start with one deep expansion score before trying decorative patterns.
- Practice makes a huge difference.
Final Thoughts
Sourdough baking takes patience, but it’s one of the most rewarding things you can make in your kitchen. Once you learn the basics, every loaf gets better and better.
The smell of fresh bread coming out of the oven, the crackle of the crust cooling on the counter, and slicing into a warm homemade loaf never gets old.

Beginner’s Sourdough Bread, Step-by-Step
1
loaf30
minutes40
minutesIngredients
150g active starter
350g warm water
500g all purpose flour
12g salt
Directions
- Feed a sourdough starter 4-12 hours before starting the dough, ensuring it is active and bubbly.
- Make the dough: Mix the starter and water together in a large bowl with a fork or spatula. Add the flour and salt. Mix to combine, finishing by hand if necessary to form a rough dough. Cover with a damp towel and let rest for 30 minutes. (optional 2 tbsp olive oil)
- Stretch and fold: After 30 minutes, grab a corner of the dough and pull it up and into the center. Repeat until you’ve performed this series of folds 3 to 4 times with the dough. Let dough rest for another 30 minutes and repeat the stretching and folding action. If you have the time: do this twice more for a total of 4 times in 2 hours. Note: If you can only perform one series of stretches and folds, your dough will benefit. So don’t worry if you have to run off shortly after you mix the dough.
- Bulk Fermentation (first rise): Cover the bowl with a damp towel or something that will create an airtight seal to prevent the dough from drying out. Let the dough rise at room temperature, about 8 to 8 to 10 hours at 72°F (21°C) or even less if you live in a warm environment. The dough is ready when it has increased by 50-75% in volume. A straight-sided vessel makes monitoring the bulk fermentation especially easy because it allows you to see when your dough has truly increased in volume by 50%.
- Shape: Coax the dough onto a lightly floured surface. Gently shape it into a round: fold the top down to the center, turn the dough, fold the top down to the center, turn the dough; repeat until you’ve come full circle. If you have a bench scraper, use it to push and pull the dough to create tension.
- Rest: Let the dough rest seam side up rest for 30 minutes. Meanwhile, line an 8-inch (20-cm) bowl or proofing basket with a towel (flour sack towels are ideal) and dust with flour (preferably rice flour, which doesn’t burn the way all-purpose flour does). Using a bench scraper or your hands, shape it again as described in step 4. Place the round into your lined bowl, seam side up.
- Proof (second rise): Cover the dough and refrigerate for 1 hour or for as long as 48 hours. (Note: I prefer to let this dough proof for at least 24 hours prior to baking. If you choose to proof the dough in the fridge for an extended period of time, you may want to tuck it into a loosely tied bag to ensure the dough does not dry out.
- Place a Dutch oven in your oven, and preheat your oven to 500°F. Cut a piece of parchment to fit the size of your baking pot.
- Bake: Lower the oven to temperature to 450ºF. Carefully cover the pot. Bake the dough for 30 minutes, covered. Remove the lid, lower the temperature to 400ºF and continue to bake for 10 – 15 minutes more. Cool on a wire rack for 1 hour before slicing.
Notes
- Sourdough bread will stay fresh up to 3 days stored at room temperature in an airtight plastic bag or container. It freezes beautifully, too.
- You will need a very active sourdough starter that passes the float test. Check out how to make your own sourdough starter and how to care for one here.
- The dough may seem dry when it is first coming together. Resist adding more water. Use wet hands during the stretching and folding if the dough is too sticky.
- The amount of time it takes for your dough to double can be determined by many environmental factors, such as the temperature in your home, the maturity of your starter, and the hydration status of the loaf.
- The most accurate way to create consistent results is by using a kitchen scale. I’ve included both gram measurements and cup measurements in the recipe